How to Tile Your Bathroom Wall in 1 Day: A Simple DIY Method
Tiling a bathroom wall can feel intimidating, but there’s a shortcut that uses drywall (gypsum board), gypsum plaster (joint compound), and smart planning. By partially scoring your drywall and applying plaster before cutting it into tile-sized sections, you can finish the job in just one day—perfect for a quick bathroom refresh. Below is a condensed, step-by-step outline of the process.
1. Gather Your Tools and Materials
- Drywall (Gypsum Board): Enough for the wall you plan to tile.
- Measuring Tape, Pencil, Utility Knife: For marking and cutting the drywall.
- All-Purpose Gypsum Plaster: Also called “all-purpose joint compound.”
- Drywall Knife/Trowel: Spreads the plaster evenly.
- Ceramic or Porcelain Tiles, Tile Adhesive/Thinset: Chosen for bathroom walls.
- Tile Spacers, Grout, Rubber Float: For uniform gaps and finishing.
- Sponge, Bucket of Water, Safety Gear: To clean grout and protect yourself.
2. Plan and Measure Your Wall Area
- Identify the walls you’ll tile and any fixtures you must work around.
- Measure the height and width carefully, noting windows, mirrors, or shelves.
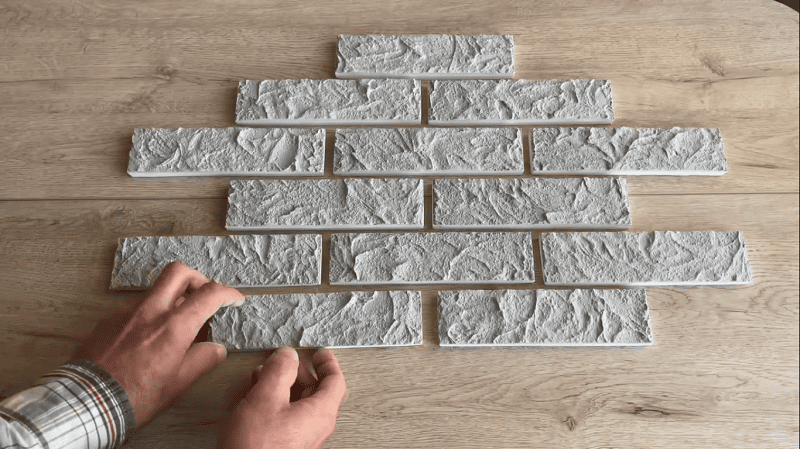
- Decide your tile layout (straight rows, brick pattern, etc.) to minimize confusion later.
3. Cutting the Drywall Correctly
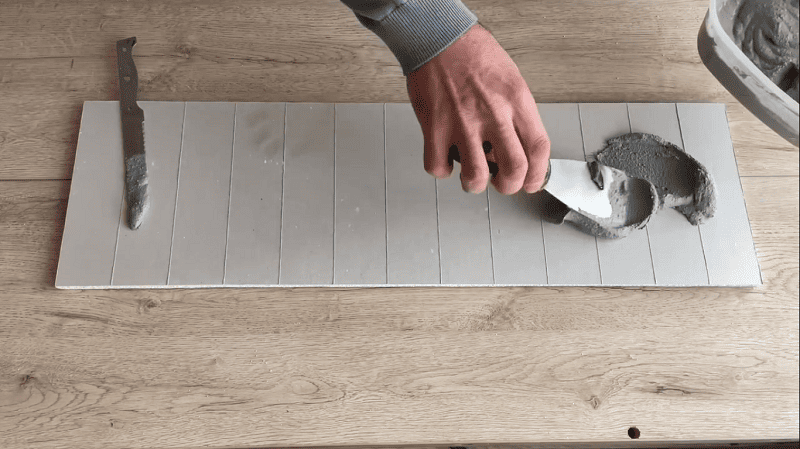
- Score Only One Side: Mark your drywall, then cut through one layer of paper.
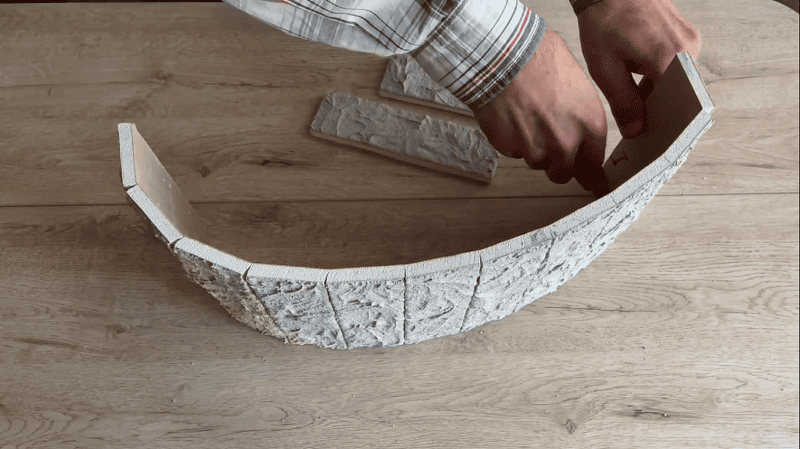
- Snap and Fold: Bend along the score; the other side remains partly intact.
- Trim if Needed: Clean up edges if fully separating pieces is required.
This method keeps sections manageable so you can plaster them more easily.

4. Applying Gypsum Plaster
- Lay Pieces Face-Up: Keep them flat and dust-free.
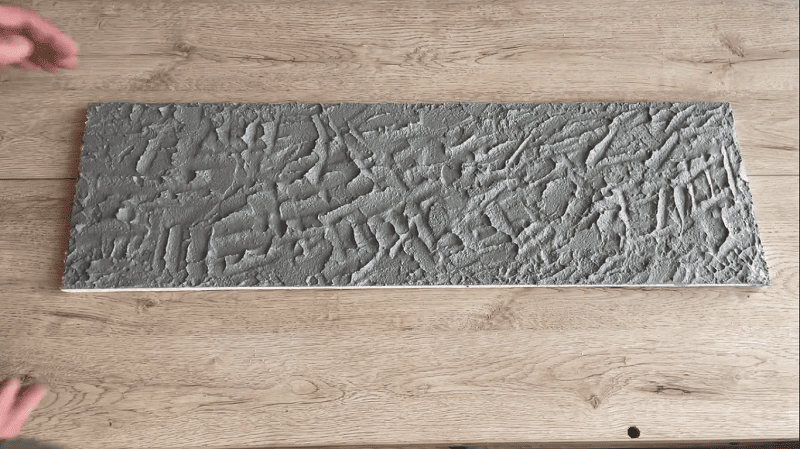
- Spread a Thin Layer: Roughly 1/8–1/4 inch of plaster; aim for smooth coverage.
- Dry for About Three Hours: Don’t move pieces while they set to avoid cracks.

5. Cutting into Tile-Sized Pieces and Installing
- Cut into “Tile” Pieces: Trim the dried plastered drywall to smaller squares or rectangles.
- Position and Attach: Use screws for exposed studs or construction adhesive over existing drywall.
- Check for Level: A bubble level keeps rows straight.
Continue until the wall is covered in your plastered “tiles.”


6. Applying Tile Adhesive and Laying Real Tiles
- Spread Adhesive: Use a notched trowel on the plastered surface.
- Press on Tiles: Place them carefully, using spacers for even gaps.
- Check Alignment: Stand back occasionally to ensure everything remains straight.
7. Grouting and Cleaning
- Mix and Apply Grout: Work small sections at a time, pressing grout between tiles with a rubber float.
- Wipe Excess: Use a damp sponge to remove residue before it dries too much.
- Inspect and Finish: Fill any low spots, then buff off any haze once the grout sets.
8. Final Steps and One-Day Tips
- Drying and Curing: Let grout and adhesive dry fully. Follow product guidelines.
- Sealer (Optional): Extend grout life and reduce stains by applying a sealer.
- Helpful Shortcuts:
- Start Early
- Use Fast-Drying Products
- Pre-Cut Materials
- Get Assistance if possible.
Conclusion
By partially scoring your drywall, plastering it, and then cutting it into tile-sized pieces, you create a quick, sturdy base for your final layer of decorative tiles. This streamlined process can dramatically cut down on labor and waiting times—allowing a motivated DIYer to transform their bathroom walls in just one day. If you encounter major problems like moisture damage or uneven surfaces, consult a professional. Otherwise, with a little planning, the right materials, and dedicated effort, you’ll have a beautiful new bathroom wall in no time.
